Alright, so picture this: you’re all set for a relaxing dip in your hot tub, but when you go to lift the cover, it feels like you’re trying to hoist a waterlogged mattress. Sound familiar? Yeah, been there, done that.
Now, sure, you could go out and drop a small fortune on one of those fancy-pants traditional hot tub covers. But where’s the fun in that? Plus, who wants to shell out big bucks for something that’s just gonna end up waterlogged and warped in a few years anyway? This project will cost less than $200, so it’s affordable and doesn’t take a long time to build it.
That’s where I come in. See, I’m all about finding DIY solutions that won’t break the bank. So, I did a little brainstorming and came up with a genius idea: why not make my own hot tub cover? And not just any cover, mind you, but one that’s lightweight, durable, and—dare I say it—kinda stylish? Here is my step by step video.
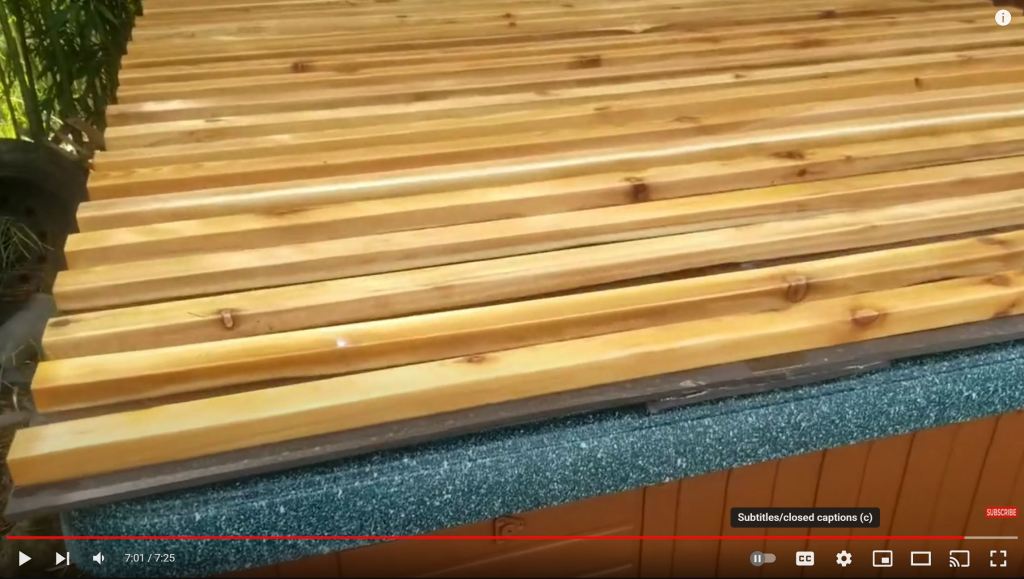
Enter the DIY hot tub cover made with closed-cell foam rubber (XLPE) and 2×3 cedar slats. Sounds fancy, right? But trust me, it’s way easier than it sounds. All you need is a few supplies, a little elbow grease, and the willingness to get your hands dirty. Oh, and did I mention it’ll save you a boatload of cash? Yeah, that too.
Now, before we dive in, let me hook you up with some links to the goodies you’ll need. First up, we’ve got the closed-cell foam, which you can snag on Amazon. Depending on the size of your hot tub, you might need a couple of pieces, so keep that in mind.
Next, we’ve got the hardware: stainless steel fender washers and screws. Trust me, you’ll want the good stuff to keep this baby sturdy and secure. Again, you can find these bad boys on Amazon, and hey, if you use my affiliate links, I’ll even make a few bucks to keep the lights on around here. Win-win, am I right?
Now, I get it—if you’re not exactly the DIY type, you might be tempted to throw in the towel and just buy a “traditional” hot tub cover. Hey, no judgment here. But come on, where’s the fun in taking the easy way out? Besides, who doesn’t love a good challenge?
Alright, enough chit-chat. Let’s get down to business. Once again, I’ve put together a step-by-step video tutorial that walks you through the entire process, from cutting the foam to size to attaching the cedar slats. Trust me, if I can do it, you can do it too.
Oh, and hey, if you’re dealing with other hot tub headaches—like a leaky pump or need to install a new spa controller that’s seen better days—I’ve got you covered there too. Check out my other videos for tips and tricks on tackling those pesky problems.
So, there you have it: a DIY hot tub cover that won’t cost you an arm and a leg and actually looks kinda cool to boot. So what are you waiting for? Roll up your sleeves and let’s get to work!


Leave a comment